The Tolex-Job (don’t fear about!)
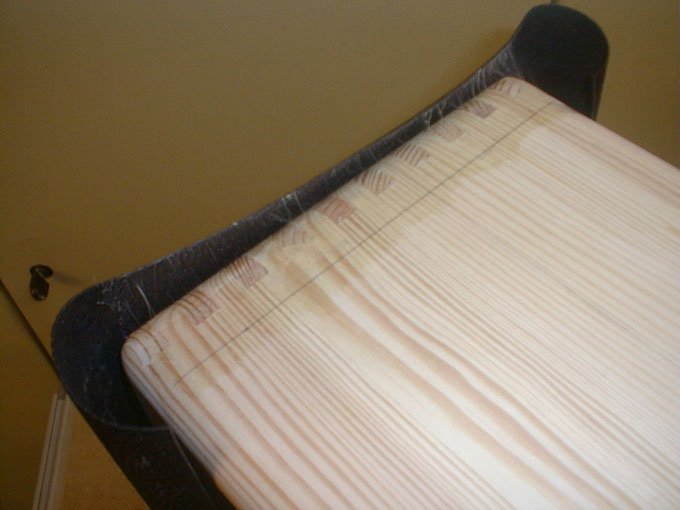
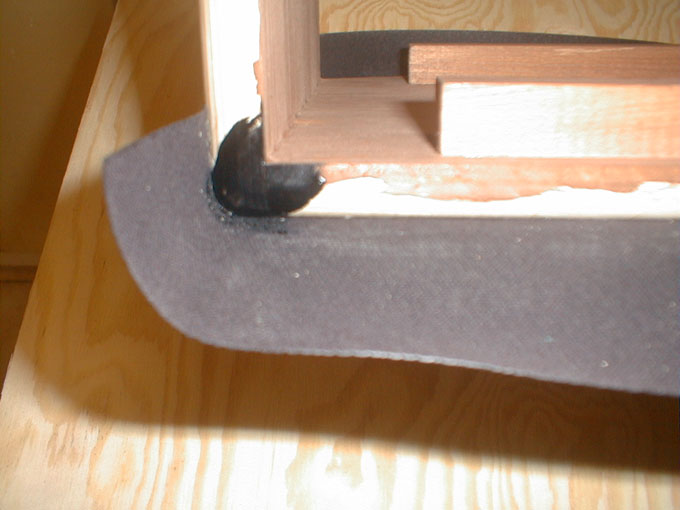
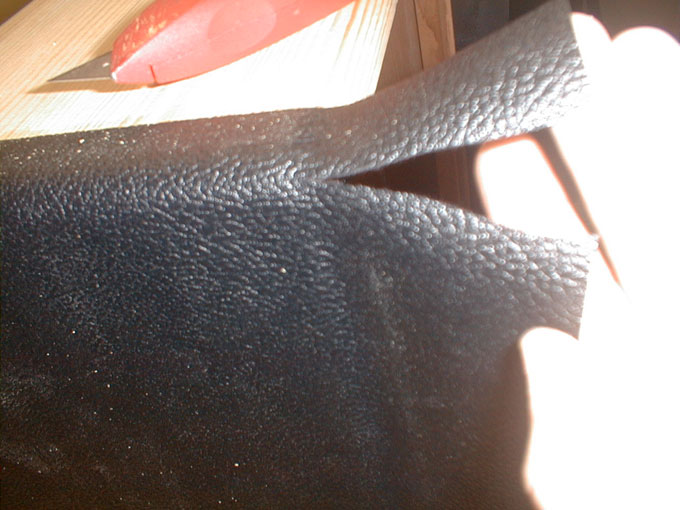
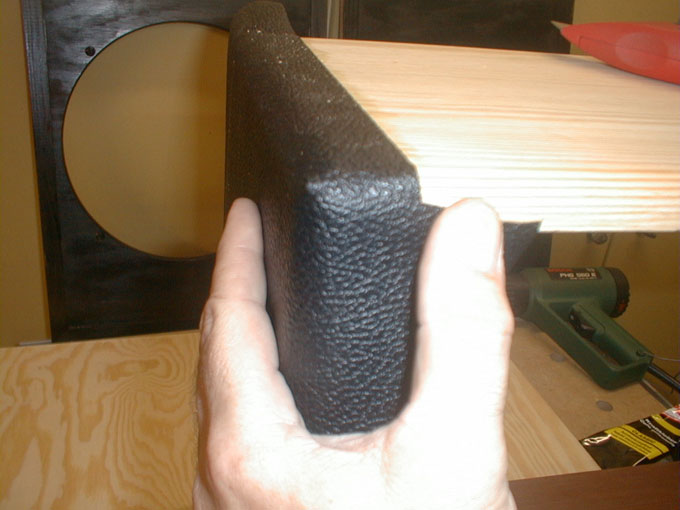
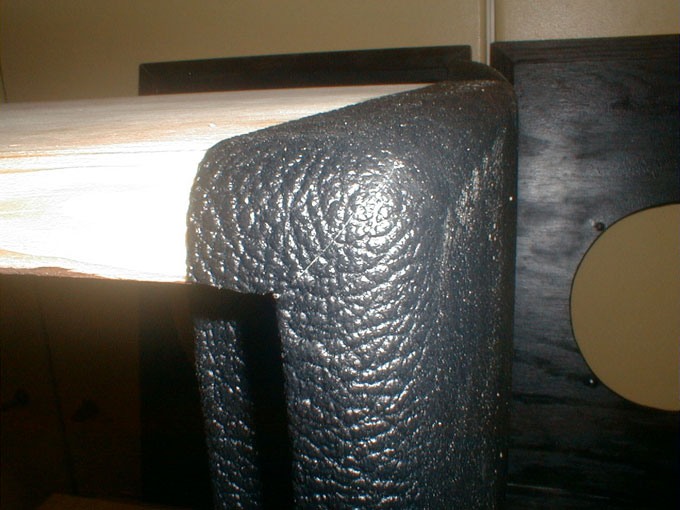
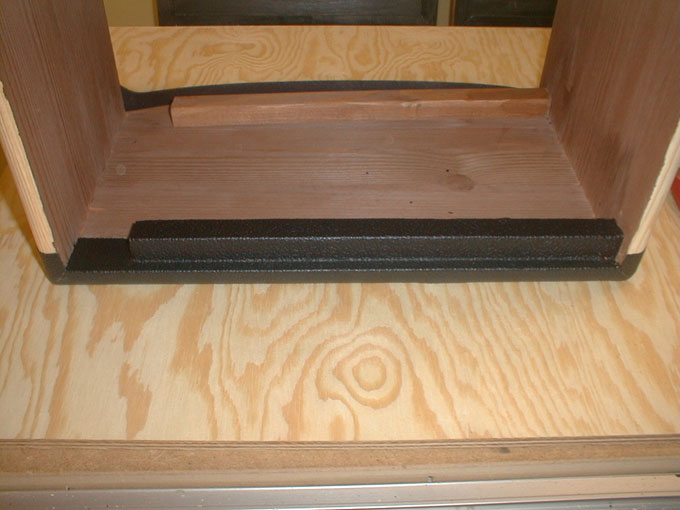
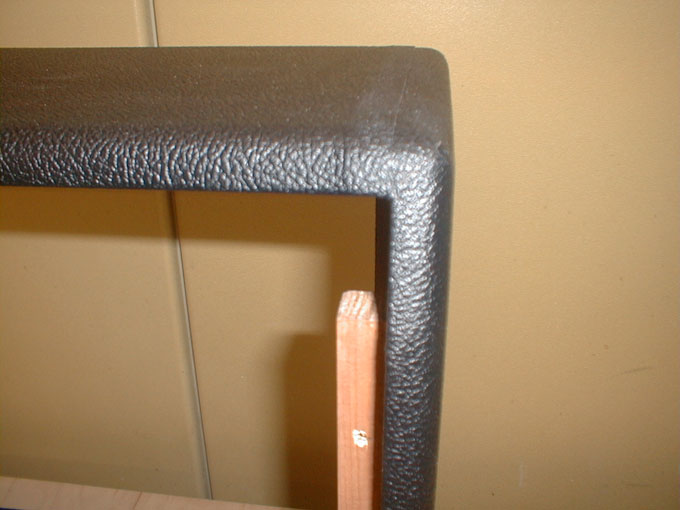
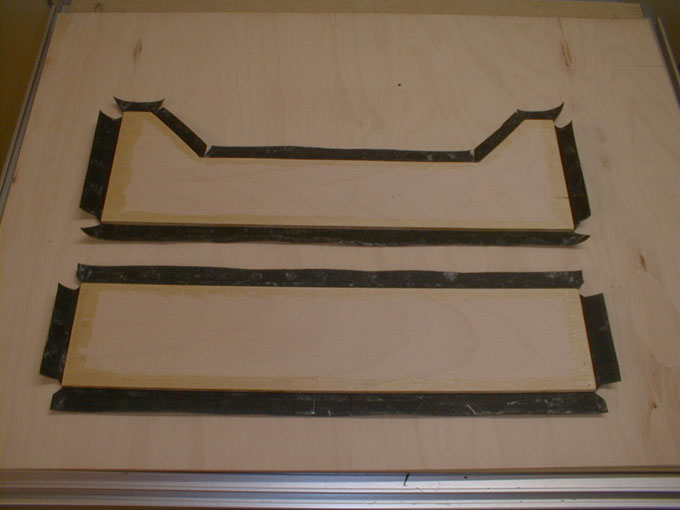
A clean coating of the cabinet with Tolex or Tweed will need some experience to receive a strong result.The methods shown here provide very acceptable results and you can hardly recognize a difference to a factory made product. Hint: Never use a stapler for tolexing!
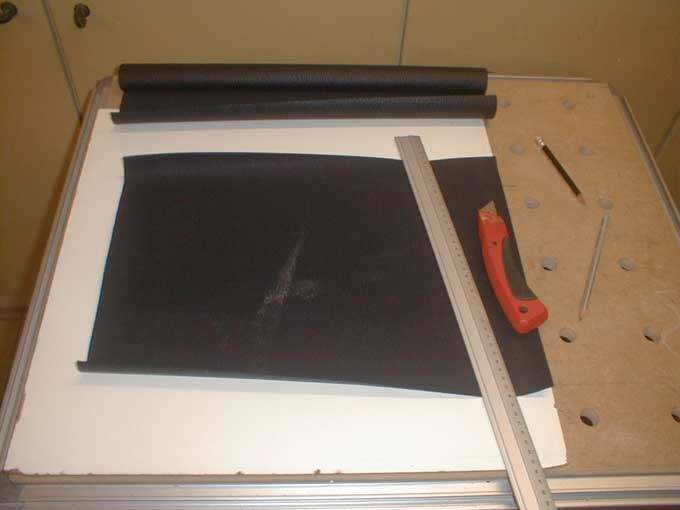
Pic 1: First I cut-out the Tolex-parts for the sides as well as for the top and bottom. The Toles for the BF-amps is glued in four parts around the cabinet. Don’t forget that the Tolex needs to flip around the outer angles.
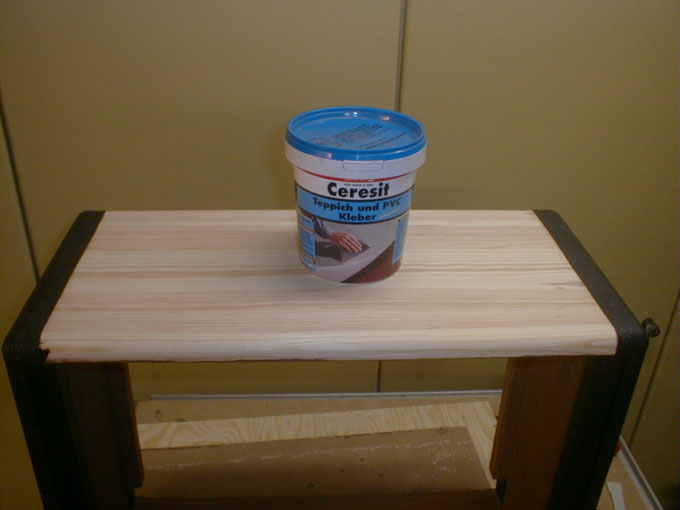
Pic 2: Tidebond or similar is perfect for glueing. Simple carpet glue does as well, but you don’t need any special (and expensive) Tolex-glue.
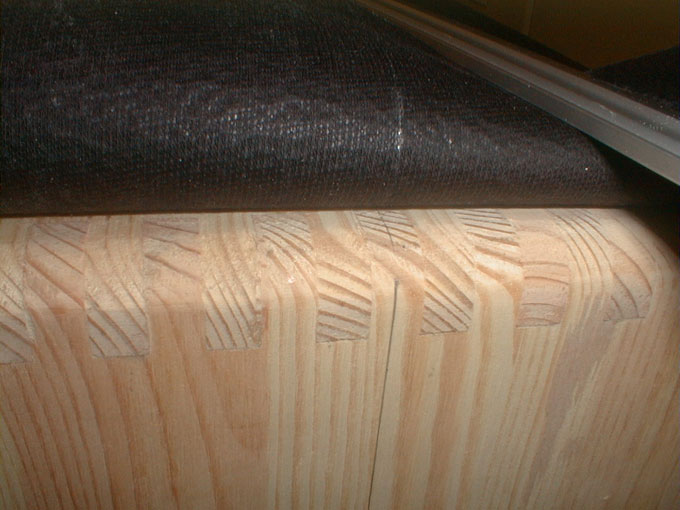
Pic 3: The Tolex needs to flip around the angles on both sides a certain amount. After having calculated the total width of the Tolex part, an orientation line on both parts helps well during the glueing job in order to get the fabric placed correctly.
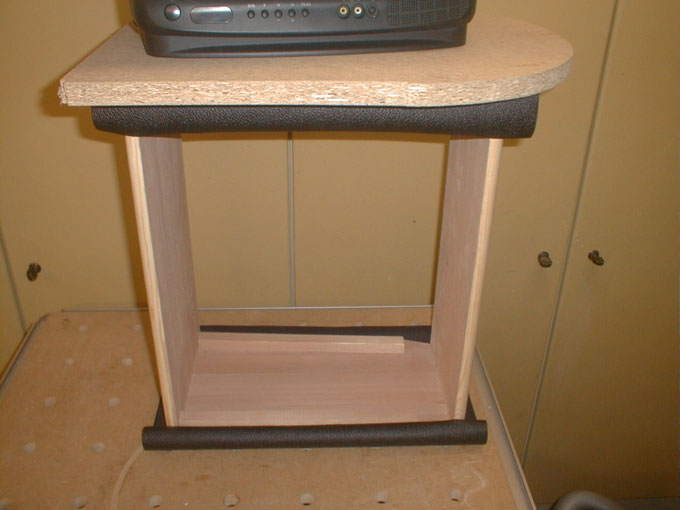
Pic 4: Some light pressure helps receiving a flat surface without bubbles. Using express-glue glueing will not take longer than one hour.
Pic 5: With the piece of Tolex cut in right angle the overlapping will fit perfectly to the line.
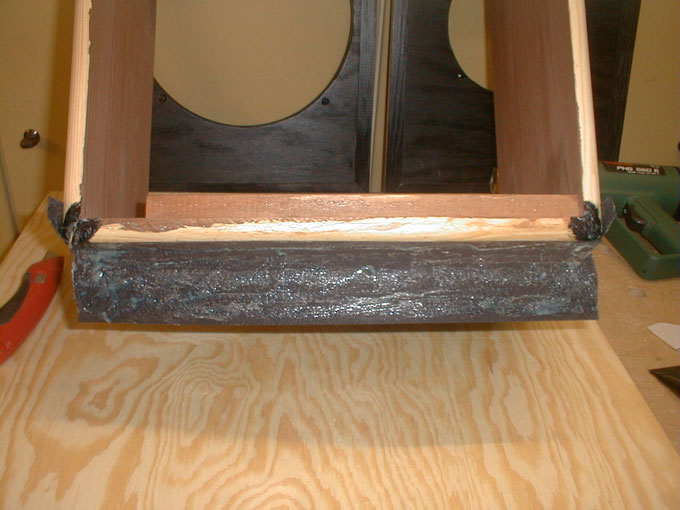
Pic 6: Blacking the corners before glueing the Tolex will avoid the visibility the small gap if the Tolex doesn’t perfectly clash.
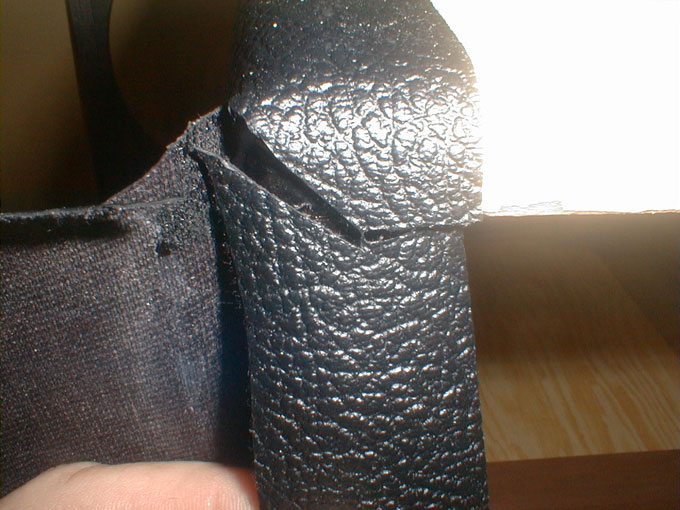
Pic 7: When the glue has dryed take a sharp cutter and make a central cut from the upper start of the rounded corner to the edge of the Tolex.
Pic 8: Overlap the pieces firmly and cut from the start of the first cut (Pic 7) until the inner corner.
Pay attention to you fingers!
Pi 9: You get two snippets from which the one coming from the top or bottom has to be cut at the inner front-edge (with the top or bottom Tolex this will result in one Tolex-layer flipping into the inside!).Glue the snippets coming from aside flipped to the inside. (Pic. 14)
Pic 10: For glueing the Tolex around the angles I use Pattex (from Henkel), because this provides immediate hold. Coat both parts flimsy with the glue and let it dry for 15 minutes before you press the parts together.
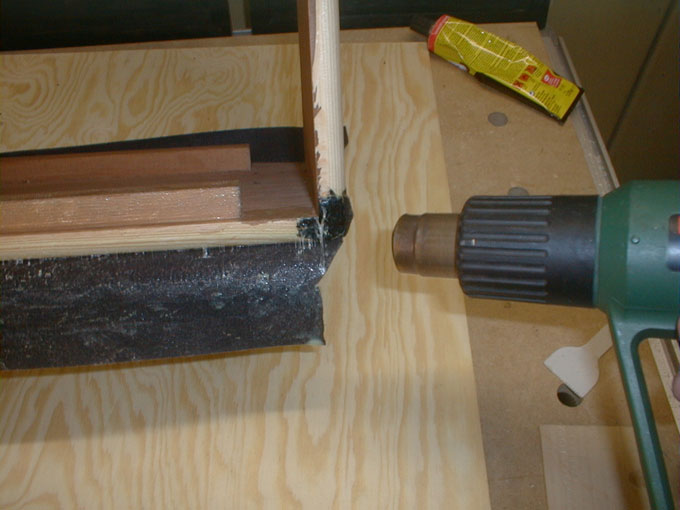
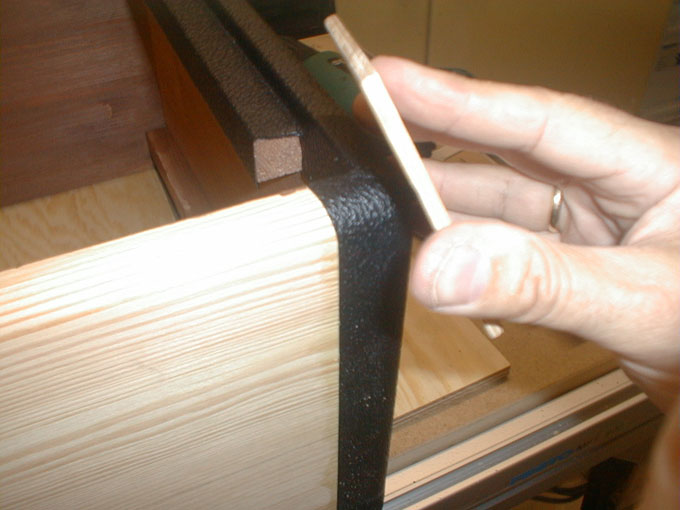
Pic 11: At the corners warm up the material with a blow-dryer. This makes the Tolex moldable and you can clash the edges for best fit. Use a piece of wood to give flat pressure onto the Tolex-joint along the cut. Repeat the pressing until the glue has cooled down again.
Pic 12: This is what I mean using the piece of wood as a pressure support.
Pic 13: This cut can only be recognized because of the flashlight that extremely enhances the contrast at the cut-line. The result is better than many original boxes.
Pic 14: Flip and glue the Tolex to the inside as shown.
Pic 15: After glueing the top and bottom Tolex as well it looks like this. You may recognize the overlapping of the Tolex parts on the top and at the bottom. Where the Tolex overlaps the chassis-straps will be placed later.
Pic 16: Having cut the Tolex to fit and to be glued. How to cut the corners you will find within my tips-section.
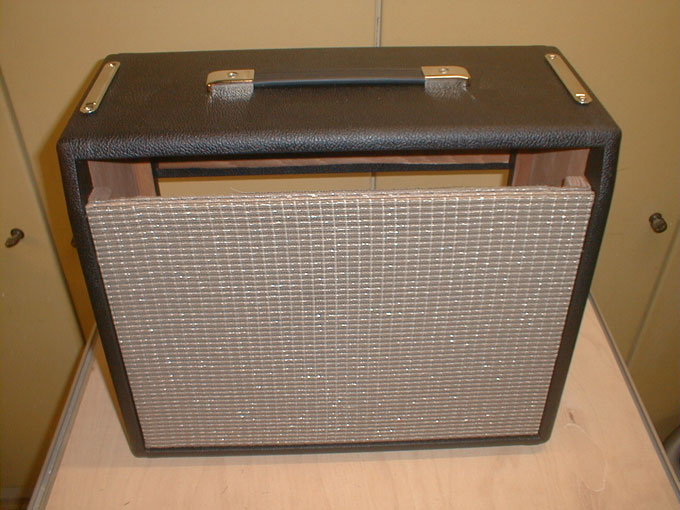
Pic 17: The cabinet after tolexing. The chassis-straps are already in place. I have prepared an extra section explaining how to make the grill.
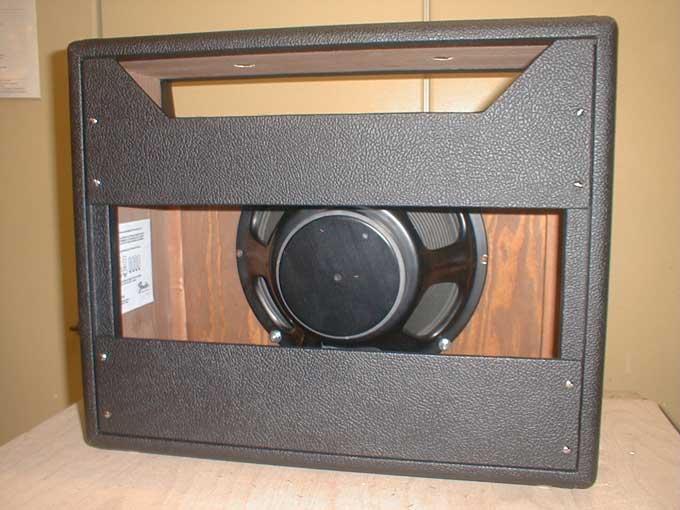
Pic 18: A view from the backside. The tube-chart has been fixed inside (if you copy you should do it 100%, shouldn’t you?)
For this amp I made a baffle for a 12” speaker as well.
(c) 2011 Dipl.-Ing. B. Brieskorn